Overview
Additional MySQL databases, used for storing application data, may be created quickly within the control panel via Databases > MySQL Manager. When a database is created, grants are automatically setup to permit the primary user access to the database. In multi-user environments, you may wish to create a separate user to keep your master password confidential.
Solution
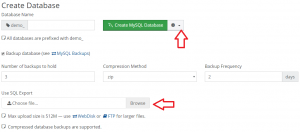
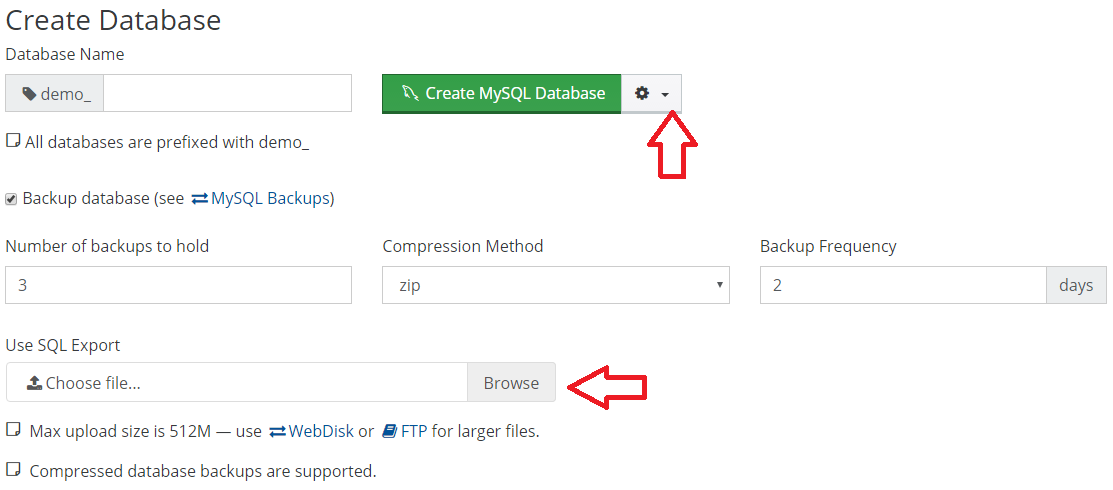
Creating a database
- Visit Databases > MySQL Manager
- Enter the new database name under Name
- Optionally deselect Backup database if you wish for no backups to be made. If the database becomes corrupted, then there is no way to restore it, so be careful.
- Optionally click Advanced to toggle the backup frequency, count, and a file to import from. For larger databases, you may wish to hold 2 database copies and backup every day. This would give you 48 hours of protection. Database import files may be plain-text or compressed.
 Importing a database
 - Click Create
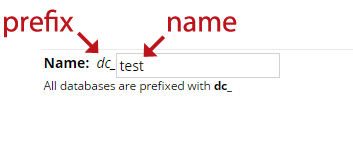
- A database comprised of your database prefix and name will be created.
- In the below example, this database will be named
dc_test
Database prefix illustration in MySQL Manager
- In the below example, this database will be named
Connecting
To connect to this database, use a hostname value of localhost, your username, and your database password. If this password is forgotten at any time, you must reset it unless it has been used elsewhere.
Note: localhost should be used for all local connectivity, unless connecting remotely or connecting using database connection pooling (“DBCP”) in Java. With DBCP, use a hostname of 127.0.0.1 – TCP socket over localhost.
Permitting access by other users
By default, only the primary user is permitted access to a newly created database. To enable another user read, write, or even a mix of privileges, they must be explicitly granted via Databases > MySQL Manager > List Users and Databases.
- Select the database
- Enable READ or WRITE privileges to allow the user read-only, read-write, or write-only access.
- For normal operation, both READ and WRITE should be selected.
- Granular permissions may be selected by clicking on Advanced. Use at your own risk.
- Click Save